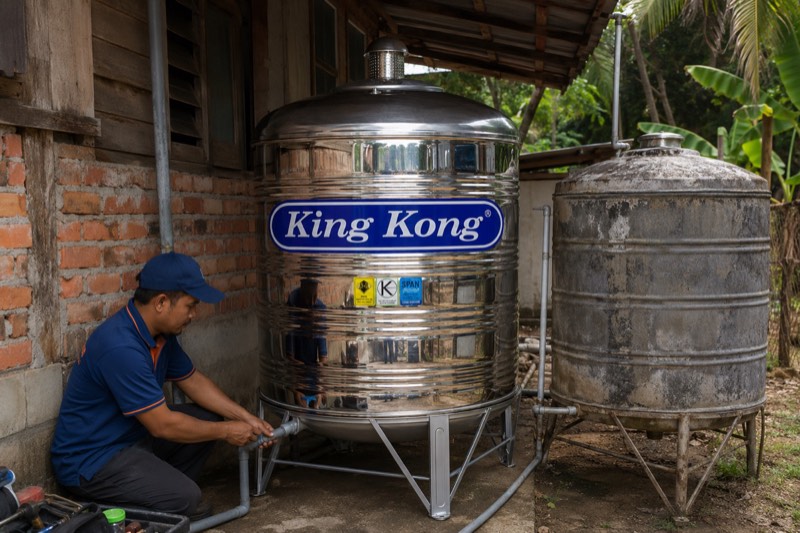
Dripping from the direction of the tank, a water bill creeping up for no reason, or water stains on the ceiling — a leaking water tank rarely gives clear early warning. What is certain: a small leak today becomes a big problem if left alone, because a full tank carries close to one tonne of weight on top of your home structure.
This guide helps you pinpoint the cause, make a temporary patch safely, and judge whether the tank should be repaired or replaced outright.
Common Causes of a Leaking Water Tank
Every type of tank has its own leak pattern. Poly tanks usually develop hairline cracks on the body or around the pipe fittings after years of UV exposure — the plastic turns brittle and splits. Old metal tanks rust from the inside until the rust eats right through. Fibreglass tanks can delaminate — the inner lining cracks apart.
Beyond the tank body, causes that often get overlooked: loose inlet and outlet pipe fittings, worn rubber seals, and an overflow pipe blocked until the water rises above the level it should.
How to trace the cause quickly: clear the area around the tank and wipe it dry, then watch where the first drip appears. Wetness under a pipe fitting points to a seal or the pipe thread; wetness on the tank body points to a crack; wetness only when the tank is full points to a problem at the top level — usually the float valve or the overflow, not the tank body.
How to Patch a Leaking Water Tank (Temporarily)
For small leaks on a poly tank, two-part epoxy (the epoxy putty type sold at hardware shops) can serve as a temporary fix: empty the tank, dry and clean the cracked area, roughen the surface slightly with sandpaper, then press the epoxy over the crack and let it harden completely before refilling.
To be honest with you: a patch on a tank under water pressure is a temporary solution. UV cracks on poly are rarely a one-off — if one spot has split, other spots will follow. A patch buys you time; it does not fix the root cause.
While waiting for the epoxy to harden or for the plumber to arrive, reduce the pressure on the crack by lowering the water level: adjust the float arm downward so the tank stops filling at half full. A lower water level means lower pressure at the bottom of the tank — the leak slows down and the house still has supply.
Glue for a Leaking Water Tank: Pick the Right One, Avoid the Common Mistakes
Not every glue is suited to this job. Ordinary silicone sealant — the kind used for sinks and windows — cannot withstand constant water pressure and will peel off in no time. Better options: two-part epoxy putty rated for plastic and damp surfaces, or a dedicated tank repair kit from the bigger hardware stores.
The most common patching mistakes: working while the tank still has water in it (glue will not bond to a wet, pressurised surface), skipping the cleaning and sanding step (the glue sticks to the dust, not the plastic), and refilling before the glue has fully cured. Follow the curing time on the packaging — do not rush it.
One more thing many people miss: patching from inside the tank holds up better than patching from outside, because the water pressure presses the patch against the wall instead of pushing it off. If the crack is at the bottom of the tank where it is hard to reach, that is usually the signal that the job has moved past DIY territory.
Replacing a Water Tank: How the Replacement Process Works
Many people put off replacing a tank because they imagine days of heavy work. In reality, a standard replacement can be done the same day: the old tank is drained and brought down, the base or stand is inspected and corrected if needed, the new tank goes up, the inlet, outlet and overflow pipes are reconnected, the float valve is adjusted, and the system is tested until every fitting is confirmed dry.
Throughout the job, your home water supply is only cut off during the pipework itself — not the whole day. The old tank is not your problem either: we handle disposal as part of the job, so there is no dead tank left lying beside the house.
Before the installer arrives, two simple preparations on your side are enough: make sure the path to the tank is not blocked by belongings, and keep some water in buckets for use while the supply is off. The rest is our job.
When to Stop Patching & Replace It Outright
The signs a tank has reached the end of its life: repeat leaks in different spots, a poly tank whose colour has faded and whose surface feels chalky to the touch, widespread rust on a metal tank, or an age well past ten years.
The cost of patching again and again — the time, the wasted water, the risk of ceiling damage — usually outweighs the price difference of replacing it outright. A new stainless steel tank also ends the whole cycle of UV and rust problems in one move. Do the maths yourself: every patch costs you glue, a day off work, and the water lost while you wait — none of which comes back when the tank still has to be replaced in the end.
We check it during the free site visit and give you a straight answer: if it is worth repairing, we repair it; if replacing is the cheaper path, a new King Kong 1000L stainless steel tank is fully installed at RM 2,914 — and we take care of the old tank as part of the job.
FAQ — water tank repair
What glue works for patching a poly water tank?
Two-part epoxy putty rated for wet or plastic surfaces is the usual choice at hardware shops. Make sure the tank is empty and the surface is completely dry before you patch.
How long does an epoxy patch last?
It depends on the size of the crack and the water pressure — anywhere from a few months to over a year. Treat it as time to plan a replacement, not a permanent fix.
The tank only leaks a little — should I really worry?
A small leak wastes hundreds of litres a month and can silently soak your home structure. At minimum, get the cause checked — do not wait for it to become a big one.
How do I confirm it is the tank leaking, and not the pipes?
Close all taps and stop using water, then watch the water meter. If the meter is still moving, there is a leak somewhere in the system. Water stains coming from the direction of the tank or the ceiling below it point to the tank; stains on walls or floors far from the tank point more towards the pipes.
Read Next
→ Water Tank Float Valve: How It Works, Common Problems & When to Replace→ Types of Water Tanks in Malaysia: Stainless Steel, Poly & Fibreglass — Which Is Best?